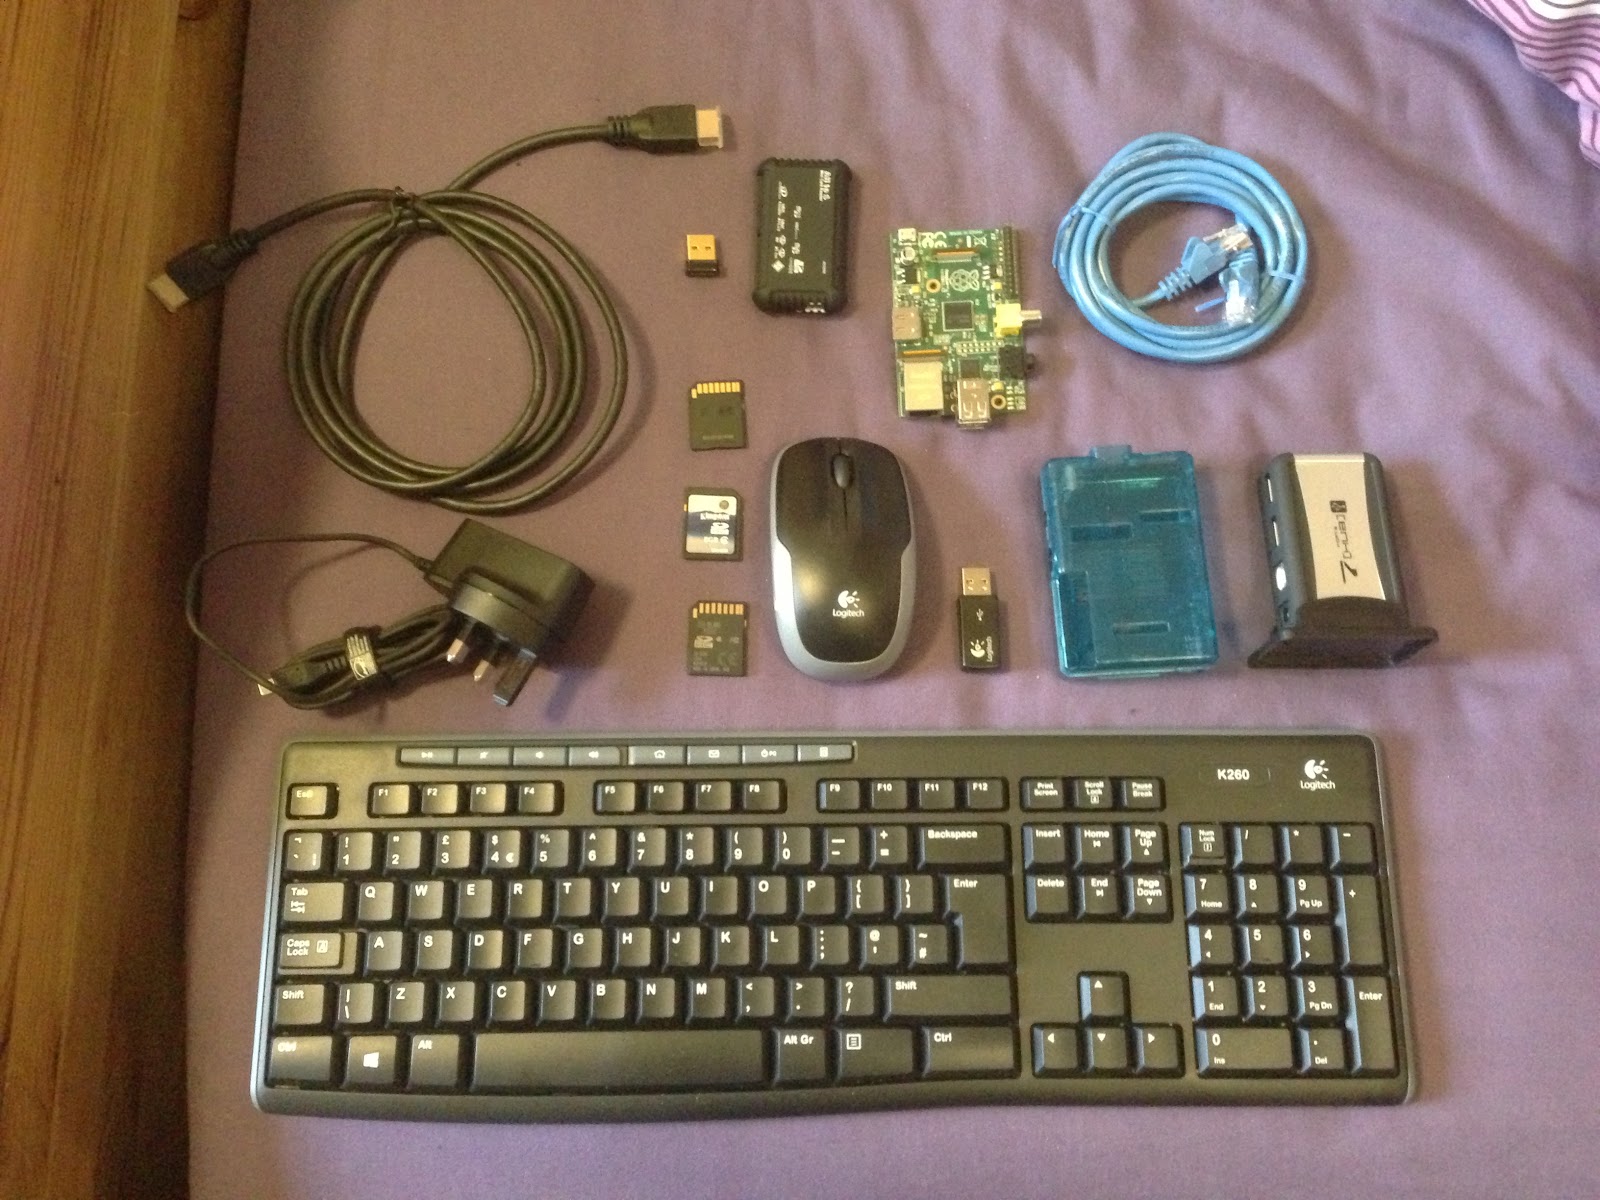
My selection of bits that will hopefully get me a working Pi
Well the Pi board comes in a very fetching pink packing/transit case, the case for the Pi looks nice, and is easy to slot together, and fairly straight forward I'll cover all this in Part 2 of this post.
However first things first, I need software and an operating system to get the Pi working. If you've ever come into contact with any form of computer based hardware, you'll know it is just inanimate and useless without its software and operating system. My carefully selected hardware is no different. It all works from the OS and software I need to place on those SD cards I've pressed into service. At the moment I dont have a usable SD card, so this is the steps I took to make it all work.
The standard operating system of the Raspberry Pi is "Raspbian". Raspbian is a version of the Debian Linux thats tinkered with specifically to run on the Raspberry Pi. You can also run other operating systems, versions of RISC OS, Windows 3.0 and other OS's have all been got to run on the Pi. This is slightly more advanced than I'm looking to do at the moment, so I'll stick to Raspbian for the moment.
If you want to do it the easy way, go trawling on eBay doing a search for "raspbian" buy one of the pre set up SD cards, plug it in your Pi and power up. You'll not need to read the rest of this posting, and you can skip to the next post about setting up ready to power up and play. But be aware you'll pay a premium for something thats fairly simple to do yourself. If you like to save money, or just like to do things yourself, then read on, its not too scary if you're willing to have a go.....
Firstly you'll need your SD card, make sure its compatible (see the link in the previous post), and has no data on it you need. The dard will get formatted losing anything on it in this process.
Setting up the SD card.
This bit Gets a little tricky to explain, you see it needs to be done on an existing, working computer.
Why this bit gets tricky is because the instructions are different based on what operating system you have. Now my laptop is a MacBook Pro, which runs OSX Mountain Lion, so my instructions will be primarily based around OSX for the actual setup.
Windows users, would probably be best looking here, this is the page on the Pi wiki. Theres also info for OSX users if you like, but heres a quick run down on how to do it OSX style.
Its just a question of downloading 2 files, one tiny, one big. First go over to the Raspberry website downloads page. Go down to the sub heading where it says 'Raspbian "Wheezy"' and download the file from the direct download section. This is the actual OS and software you'll need for the Pi to run. You'll need to unzip the version of Raspian you download, leaving you with a big file that has the extension .img, save this for later. Depending on your download speed, you might be best leaving the computer to do its own thing while this downloads.
Next you'll need to pop over to here to download the SD card utility (currently ver 1.2). This handy little tool sets up the SD card ready to roll in your Pi. The file will download, then follow the instructions on the page.
Couple of points to note if you get difficulties:
- It is obvious to many but less so to others, make sure your SD card is unlocked. Dont worry, its a simple thing to do, look on the side of your SD card. Theres a little switch on the side, flip the card round so you are looking at the electric contacts and they are to the top as you look at them. the switch is on the right side, check its in the upper position, to allow you to write data to it
- If you are running Mountain Lion and try to run the SD card utility, but your mac tells you you cant run the programme because its from a third party, you'll need to change your security settings. Go to: System preferences > Security & Privacy Check if the little lock at the bottom is open, if its not, click on it and enter your password. At the bottom of the window is a bit saying "allow applications downloaded from", set this to anywhere. As a precaution, reset this back to its original setting after you have got the SD card set up.
- You'll follow it through stages 1-6, and wait a while. If you get an error message saying: "The action “Run Shell Script (eject sd)” encountered an error. Check the action’s properties and try running the workflow again." dont worry about it. After reading the notes and looking at the authors comments this is a common problem. Your SD card is done, you can eject it as usual and procede to the next stage, get to grips with using your Pi
My next post will cover plugging in, turning on and initial setup, and getting a usable system.
No comments:
Post a Comment